The best time to buy supplies for the school kits is obviously in the fall when school supplies are on sale. The items that are included in the kits are easy to find, but the cost can start to add up if you don't get things on sale. LWR changed from a bag with handles to a drawstring backpack type of bag for the kits. In my opinion, it is faster to make than the old bag with handles. LWR does give instructions for making the school bags, but the purpose of this blog post is to show you a way to make them from 60 inch upholstery fabric with virtually no waste.
I like using 60 inch wide fabric as you can get four bags out of about 1 1/4 yards of fabric. If you watch for sales, you can sometimes get your material for $3 a yard or less. Some of prints may not be something that you would use for your furniture, but make great school bags. You can find 60 inch wide denim was well. Make sure that the selvages of your fabric are aligned before cutting. You can see that the fabric I have chosen, when folded in half, selvages matching, is about 29 inches.


Cut the fabric the straighten the edge. Then measure and cut a piece of the fabric to your length of 38 inches.

I then cut the fabric into 2 pieces that are 1/2 the width of the fabric and the length of 38 inches. For the fabric that I was using I just cut down the fold as shown.

Next I took the two pieces of fabric and folded them so that the 2 short edges were together. I did this to make it easier to cut using the rotary cutter. I measured the fabric that I could cut two pieces of the same width and cut it, resulting in four pieces of fabric 38 inches long and about 15 inches wide.

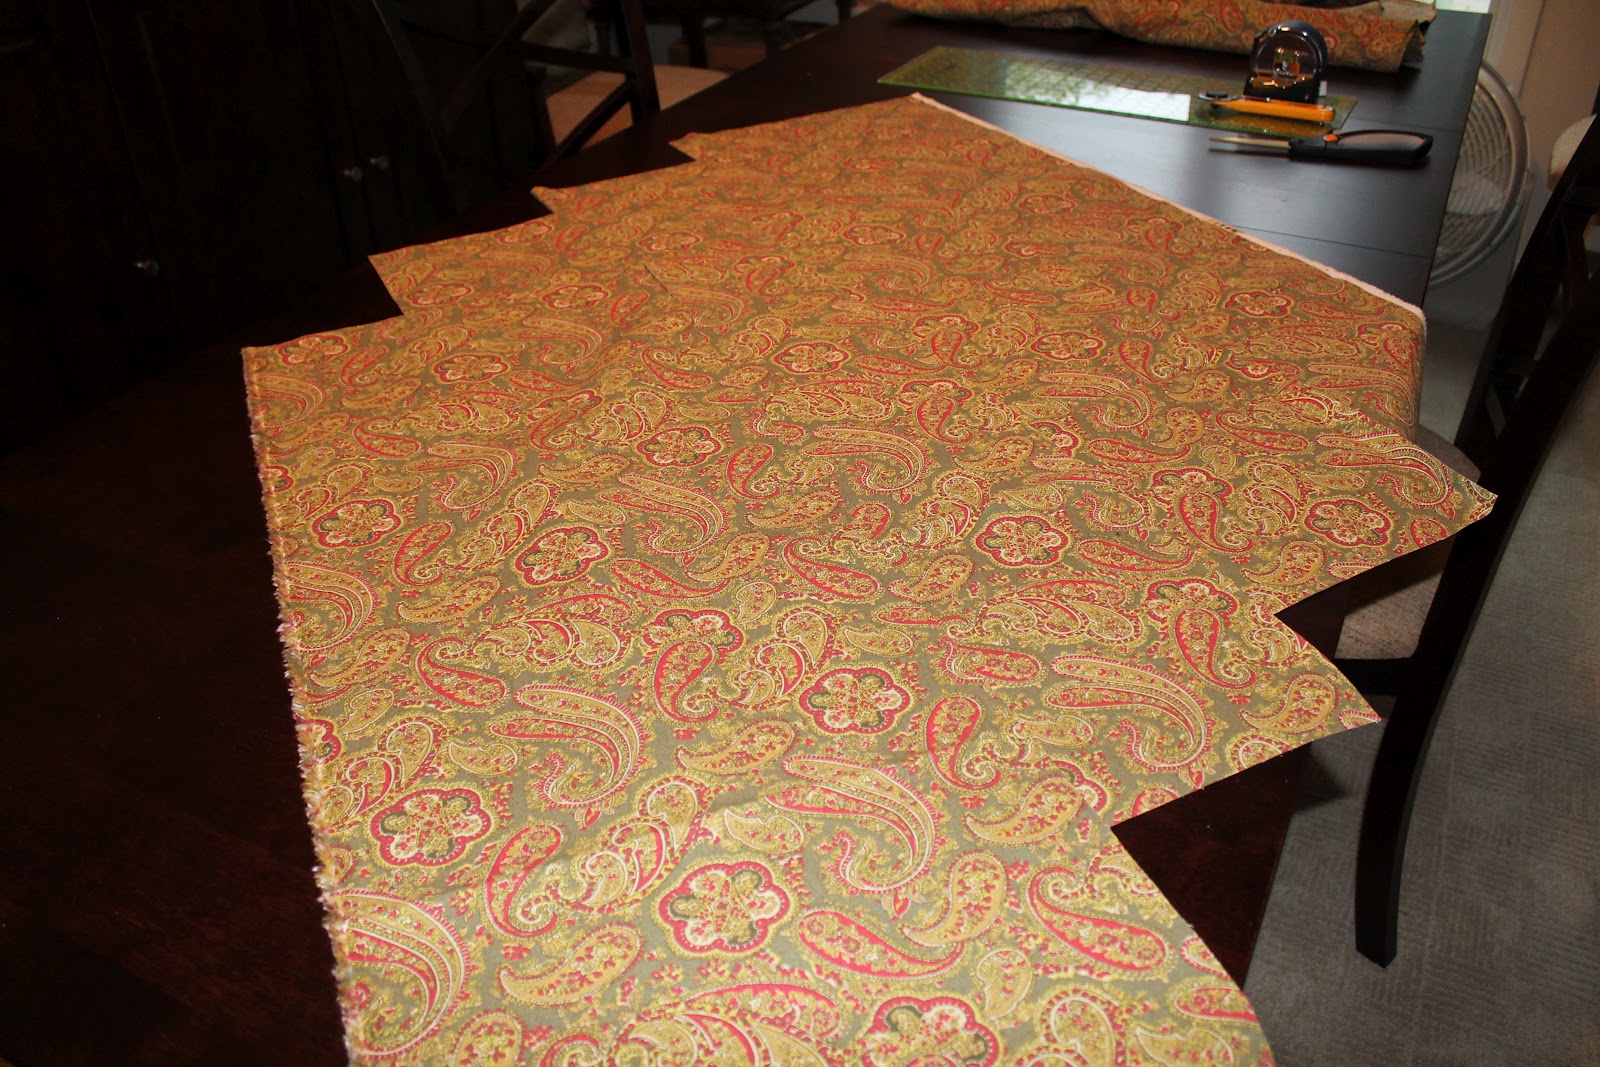
Here are the four pieces of fabric that will comprise the body of the bags.
Constructing the Tabs

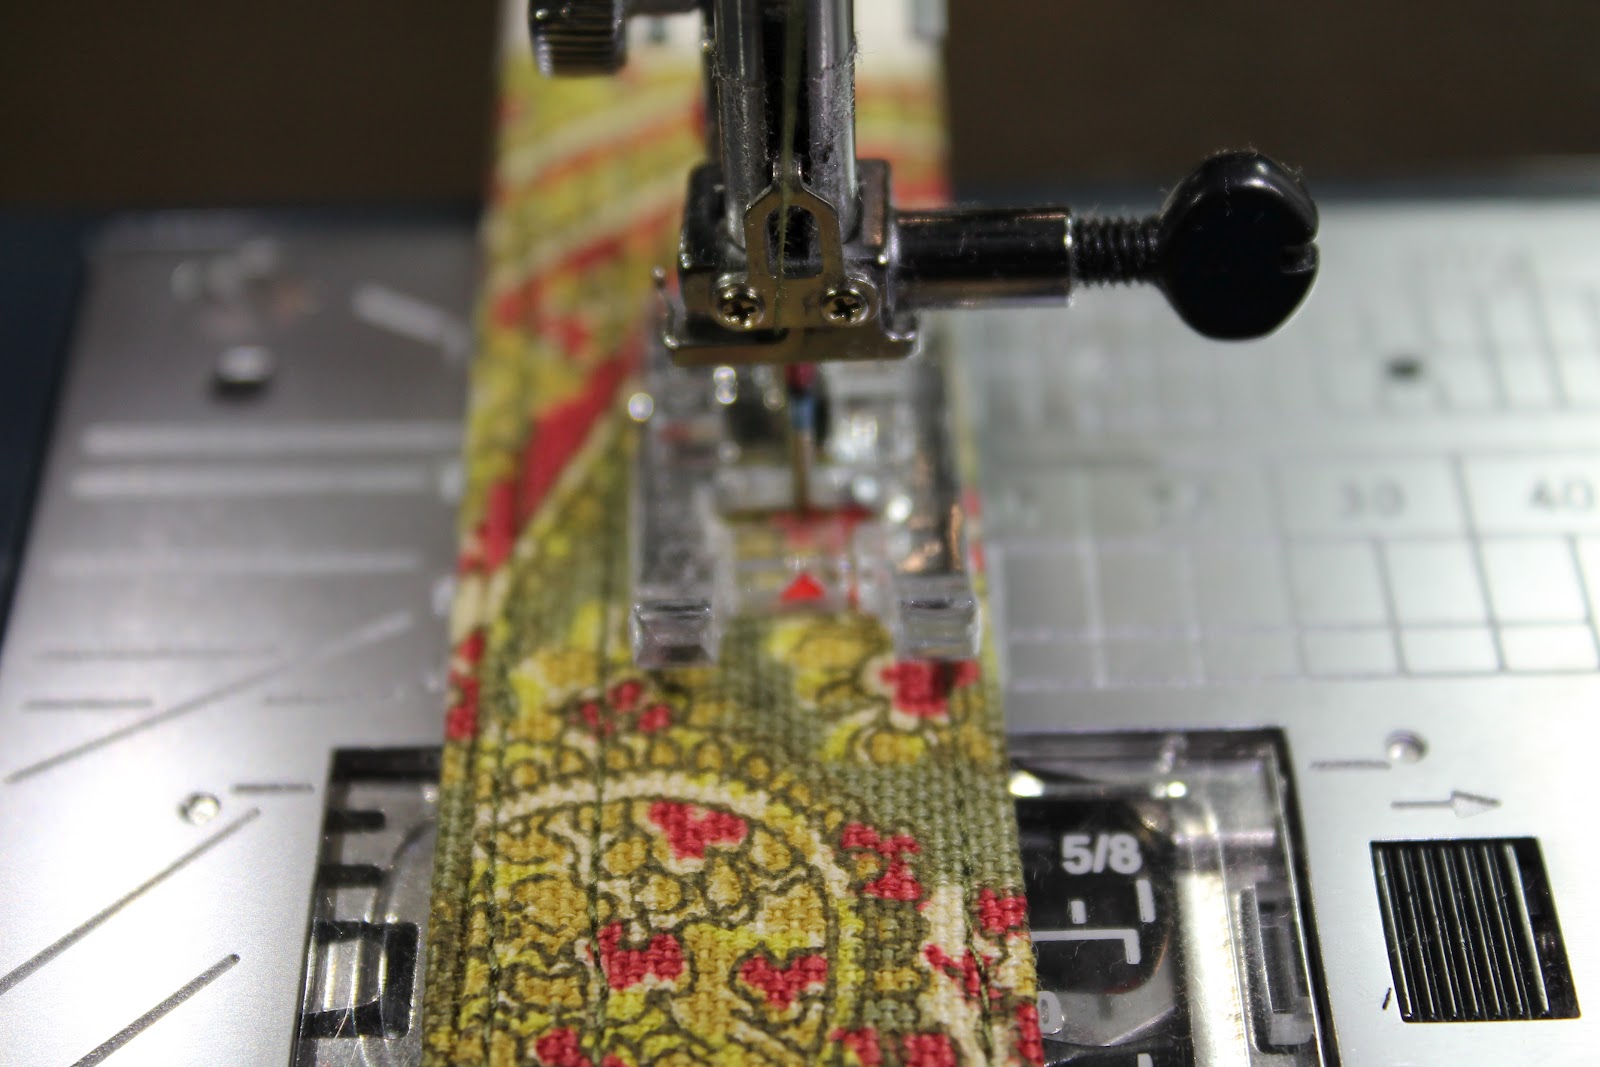
You will need to cut a piece of fabric 4 inches wide and the width of the fabric to use for the tabs at the bottom of the bags. You will thread the drawstring through the tabs to create the drawstring straps.
In the next picture you can see that I have folded the 4 inch strip so that it is now 2 inches and have pressed it to make a crease. I don't usually do this, but did so today to show how it looks to find the center of the 4 inch strip.


Fold the edges of the fabric toward the center (crease seen in previous picture) and then fold the fabric strip in half along the crease (center) to create a 1 inch wide strip of fabric. You will have 4 layers of fabric.

Sew very close to the edge of the fabric opposite the crease. I usually try to sew about 1/8 inch in from the edge. Sew the entire length of your strip. Now sew close the the crease edge of the strip, again the entire length of the strip. I then sew both the edges again, about 1/4 inch from the first line of stitching.

Down one edge.

And up the other edge!
Now the stitching at 1/4 inch from the previous stitching.
Set this strip aside for use later in the construction of the school bag.
If you would rather skip the step making the tabs, you could use 1 inch wide nylon webbing instead. It would be a way to save some time in the construction of the bags.
Construction of the School Bag
The directions published by Lutheran World Relief tell you to make a 1/2 fold around all the edges of the fabric for the body of the bag and sew around the edges. I have a way that I think is easier and doesn't require so much sewing that is not really used to put the bag together.
On each of the long edges (38 inch) of the bag fabric, turn about 1/2 inch of the fabric toward the wrong side as shown. The edge shown in selvedge, but most of the edges that you will be working with will be raw edges. Sew close to the folded edge of the fabric.


I do a lot of quilting and one of the things I do is chain piecing. This means that I sew quilt pieces together without cutting the pieces apart every time I sew two pieces together. This cuts down on wasted thread, which is something to think about with the cost of supplies today. You can see how I go from one piece to the next without cutting thread. You can cut the pieces apart later.

I do a second like of stitching about 1/4 inch away from the first line of stitching for the 4 inches of the folded side edges of the bag on all 4 corners. This reinforces the edge for the casing. This step could be left off if you desire.

Now turn down two inches on each of the short edged of the bag. This will form the casing for the drawstring.


The stitching forms the top of the casing for the drawstring. Next turn up 1/2 inch on the edge of the casing as shown and sew, again along the edge of the fold. Your casing is complete. I usually do a second line of stitching to reinforce the bottom of the casing.

For everyone who is wondering about the blue tape that you are seeing on my sewing table, it marks the center of stitch plate on the machine and I use it for centering long pieces of fabric when sewing.

Your bag should look like this.
In preparation for completing the side seams, cut the tabs to hold the drawstrings at the bottom of the bag. Retrieve the long strip previously prepared for the tabs. I cut my tabs at 4 inches in length. If you only have one strip of tabs for 4 bags, you will need to cut them a little shorter than 4 inches in order to have 8 tabs to complete the project.

The cut tabs then need to be folded in half as shown, except that the edges will match. You can see what the tab will look like when pinned into the bag in the background of the picture.

Take your bag and matching the top of the casing, fold the bag in half, wrong sides together. As shown, add the tabs to the bottom of the bag, taking care to make sure that they are completely enclosed inside the bag. Double check here, it is very easy to get one piece of the tab sandwiched in the bag and have one piece sticking out on the back of the bag. Being careful now will save a lot of frustration and un-sewing later. Trust me, I know!

Your bag should look like this now.
Making sure that the side edges are properly aligned, beginning at the bottom edge of the casing, sew the sides together close to the stitching that you originally did when you turned in the sides 1/2 inch. Check often to make sure the edges remain properly aligned and that you are stitching through all layers. Backstitch at the beginning of the seam and when you reach the tab, to strengthen these areas, as they will be under a lot of stress when the bag is used.


Do not start your stitching at the very top edge of the bag or you will sew the casing shut!
I add a second line of stitching about 1/4 inch in from the first line of stitching, again for reinforcement.

Make sure to add extra stitching at the bottom edge of the casing.

I just did some straight sewing, you could make a X or something more decorative if you wished. Trim all of the threads. Sew both sides of the bag in the same manner. Your bag is now finished except for the strings.

I thought for a long time about a quick way to put the strings in the casings. I wanted a way that was quick and easy. Using a bodkin of some type to pull the string through the casing would have worked, but was too time consuming, Here is my solution. It is quick, easy and most of all cheap to make and use.


I cut a small dowel to a length that was slightly longer that the width of the bags that I needed to complete. Then I used some painter's blue tape and wound a 12 inch piece around one end of the dowel. I can tear off the tape as it loses it 'stick' and have new piece ready to go.
Cut your drawstring to 2 yards in length, you need 2 per bag. Seal the ends of the cording if using nylon or polyester cord.
Wrap the tape around the dowel and cording as shown in the following photo. You will then push the dowel and the attached cording through one side of the casing and back through the other as shown in the following pictures.


Now, put one end of the cord through the tab on the same side as the cording and tie using an overhand knot, as shown above.
Your school bag should now look like this

Add the second drawstring in the same manner, starting on the side opposite of the one that already has a string. This completes your drawstring school bag.


Finished!!
You can now fill with the supplies listed on the information from Lutheran World Relief!

In order to keep the supplies in the bag and make it easier to handle for shipping, I fold the drawstrings toward the center of the bag and then fold the top of the bag down and tie the resulting package with twine or string. Nice, neat and nothing can spill out.

I hope that you have found the preceding information helpful. I usually make 2 or 4 bags at a time using the chain piecing methods described. If the fabric is precut, I can make 4 bags in about 45 minutes of steady sewing.
Happy Sewing!!
4 comments:
This post is wonderful! Thank you for sharing how you make LWR School Kits.
Would you be willing to let us cross-post this on LWR's Blog? We would most likely post the introductory paragraphs and link back here for the full instructions.
Thanks!
Dan Ruth
Social Marketing Manager
Lutheran World Relief
Hello, I found your blog through LWR. Our LWML society is getting ready to begin a school kit campaign and we are planning to seek help from the congregation to help us make the drawstring bags. This post is very helpful. I don't sew but I will direct others to your blog if they need help constructing a bag. Wish we could have you come and teach us how to make the bags! That would surely be a lot of fun!
I appreciate the complete instructions for adding the drawstrings. Even though I had made and added the ties to bags before I needed a refresher course. The instructions at the main LWR book bag site are pretty skimpy!
With your instructions I was able to finish my project. Our church is sending 57 school kits off to LWR in October, 2020. What a fun project!
I cannot THANK YOU enough for the help to do the drawstrings!!!! I was frustrated, my husband was frustrated, I thought I was going to turn them in with strings in the bag as a fail but your help solved the problem.
Post a Comment