Monday, October 1, 2012

School kits for Lutheran World Relief

I have been making school bags for Lutheran World Relief for several years.  The church I attend and am a member of, Immanuel Lutheran, participates in this worthwhile endeavor.  The ladies of the church also do quilts and furnish other kits, such as sewing kits and hygiene kits, but I like doing the school kits.  I think that part of the fun is thinking about the children who will receive the kits and imagining them using them at school.  My mother always says that no one can take away what you learn.  To find out more about Lutheran World Relief and the work that they do, click on the link.

The best time to buy supplies for the school kits is obviously in the fall when school supplies are on sale.  The items that are included in the kits are easy to find, but the cost can start to add up if you don't get things on sale.  LWR changed from a bag with handles to a drawstring backpack type of bag for the kits.  In my opinion, it is faster to make than the old bag with handles.  LWR does give instructions for making the school bags, but the purpose of this blog post is to show you a way to make them from 60 inch upholstery fabric with virtually no waste.

I like using 60 inch wide fabric as you can get four bags out of about 1 1/4 yards of fabric.  If you watch for sales, you can sometimes get your material for $3 a yard or less.  Some of prints may not be something that you would use for your furniture, but make great school bags.  You can find 60 inch wide denim was well.  Make sure that the selvages of your fabric are aligned before cutting.  You can see that the fabric I have chosen, when folded in half, selvages matching, is about 29 inches.


Cut the fabric the straighten the edge.  Then measure and cut a piece of the fabric to your length of 38 inches.  

I'm using a metal tape measure to get the length correct.  I didn't have any other measuring device that was as long as I needed.  I used a rotary cutter  to cut the fabric, you could mark the fabric and use a scissors as well.
I then cut the fabric into 2 pieces that are 1/2 the width of the fabric and the length of 38 inches.  For the fabric that I was using I just cut down the fold as shown.


Next I took the two pieces of fabric and folded them so that the 2 short edges were together.  I did this to make it easier to cut using the rotary cutter.  I measured the fabric that I could cut two pieces of the same width and cut it, resulting in four pieces of fabric 38 inches long and about 15 inches wide.

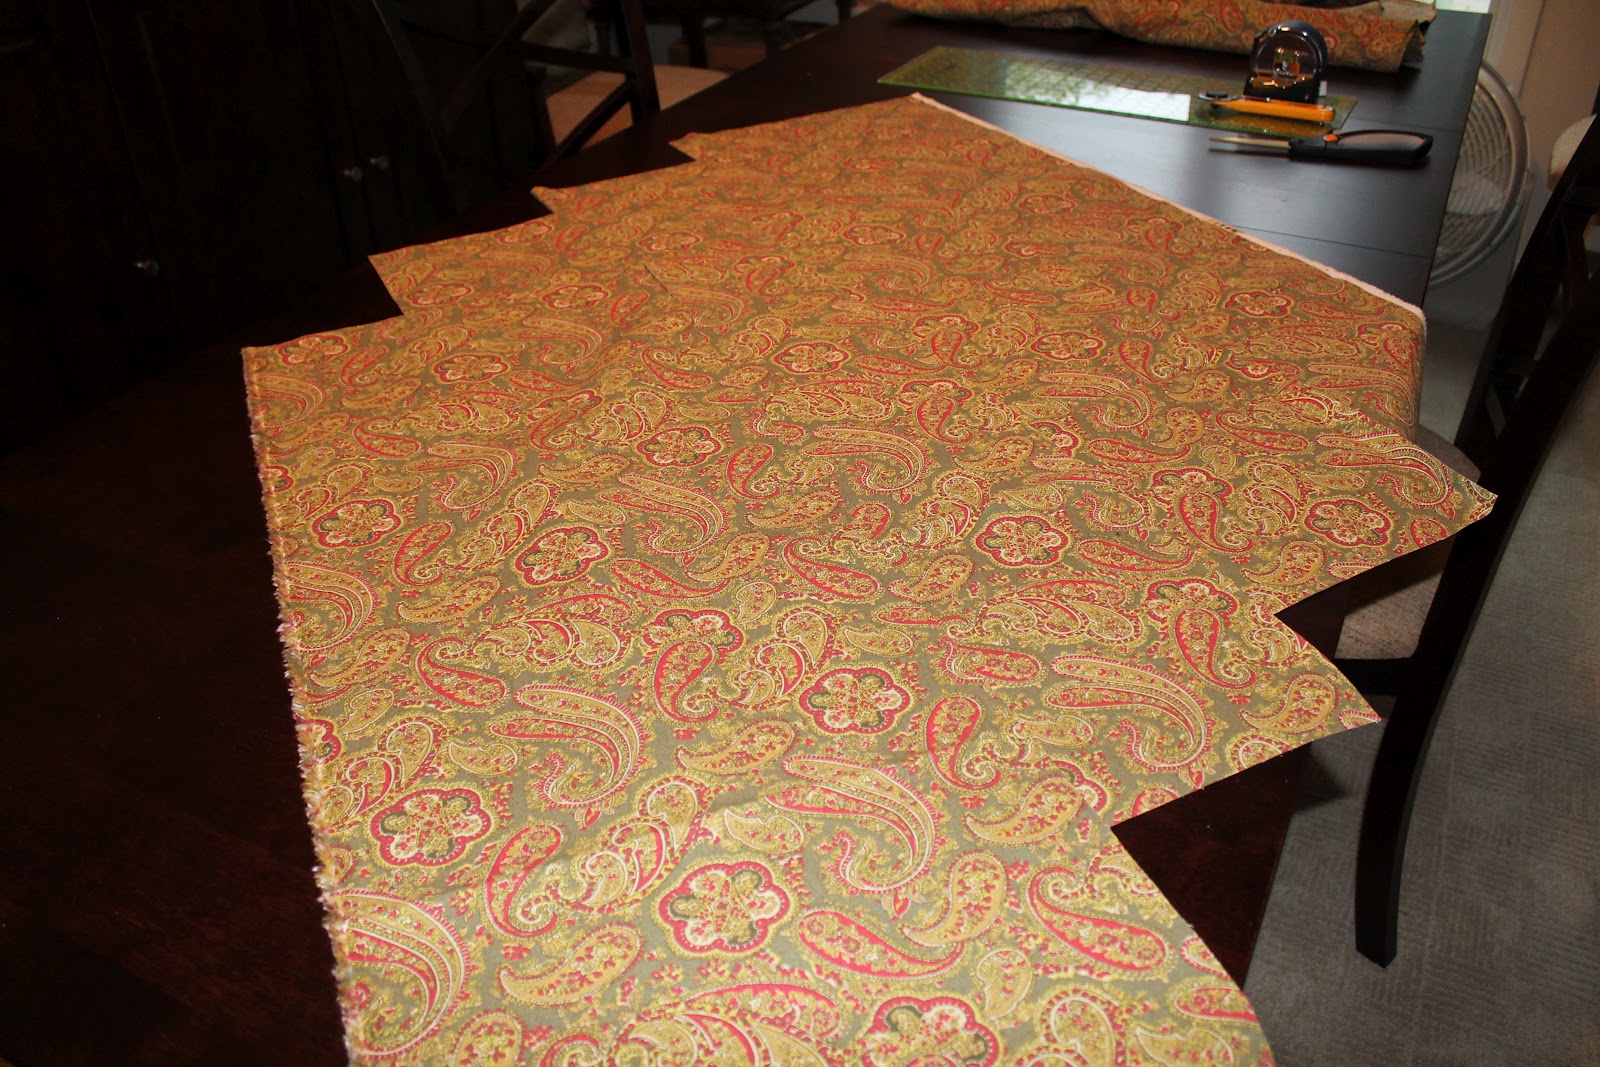


Here are the four pieces of  fabric that will comprise the body of the bags.


Constructing the Tabs


You will need to cut a piece of fabric 4 inches wide and the width of the fabric to use for the tabs at the bottom of the bags.  You will thread the drawstring through the tabs to create the drawstring straps.


In the next picture you can see that I have folded the 4 inch strip so that it is now 2 inches and have pressed it to make a crease.  I don't usually do this, but did so today to show how it looks to find the center of the 4 inch strip.


Fold the edges of the fabric toward the center (crease seen in previous picture) and then fold the fabric strip in half along the crease (center) to create a 1 inch wide strip of fabric.  You will have 4 layers of fabric.


Sew very close to the edge of the fabric opposite the crease.  I usually try to sew about 1/8 inch in from the edge.  Sew the entire length of your strip.  Now sew close the the crease edge of the strip, again the entire length of the strip.  I then sew both the edges again, about 1/4 inch from the first line of stitching.


                       Down one edge.


       And up the other edge!
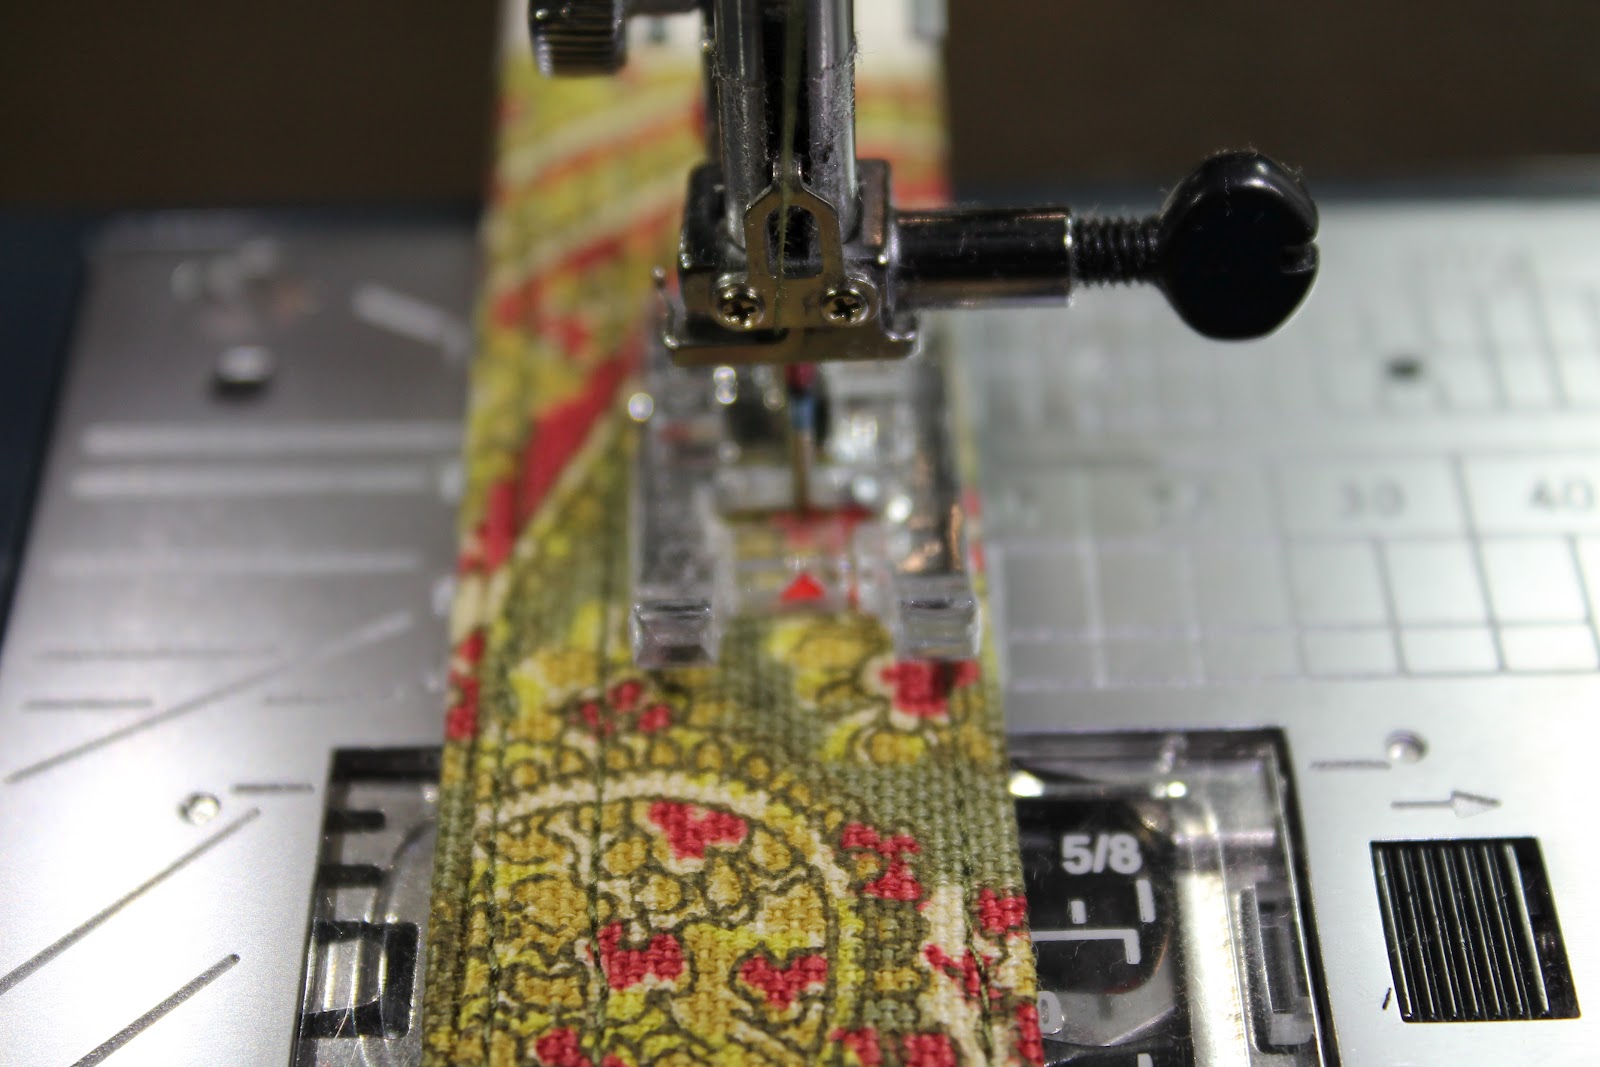


Now the stitching at 1/4 inch from the previous stitching.
Set this strip aside for use later in the construction of the school bag.

If you would rather skip the step making the tabs, you could use 1 inch wide nylon webbing instead.  It would be a way to save some time in the construction of the bags.

Construction of the School Bag

The directions published by Lutheran World Relief tell you to make a 1/2 fold around all the edges of the fabric for the body of the bag and sew around the edges.  I have a way that I think is easier and doesn't require so much sewing that is not really used to put the bag together.

On each of the long edges (38 inch) of the bag fabric, turn about 1/2 inch of the fabric toward the wrong side as shown.  The edge shown in selvedge, but most of the edges that you will be working with will be raw edges.  Sew close to the folded edge of the fabric.

 I do a lot of quilting and one of the things I do is chain piecing.  This means that I sew quilt pieces together without cutting the pieces apart every time I sew two pieces together.  This cuts down on wasted thread, which is something to think about with the cost of supplies today.  You can see how I go from one piece to the next without cutting thread.  You can cut the pieces apart later.


I do a second like of stitching about 1/4 inch away from the first line of stitching for the 4 inches of the folded side edges of the bag on all 4 corners.  This reinforces the edge for the casing.  This step could be left off if you desire.


 Now turn down two inches on each of the short edged of the bag.  This will form the casing for the drawstring.  

The stitching forms the top of the casing for the drawstring.  Next turn up 1/2 inch on the edge of the casing as shown and sew, again along the edge of the fold.  Your casing is complete.  I usually do a second line of stitching to reinforce the bottom of the casing.

For everyone who is wondering about the blue tape that you are seeing on my sewing table, it marks the center of stitch plate on the machine and I use it for centering long pieces of fabric when sewing.


Your bag should look like this.


In preparation for completing the side seams, cut the tabs to hold the drawstrings at the bottom of the bag.  Retrieve the long strip previously prepared for the tabs.  I cut my tabs at 4 inches in length.  If you only have one strip of tabs for 4 bags, you will need to cut them a little shorter than 4 inches in order to have 8 tabs to complete the project.

The cut tabs then need to be folded in half as shown, except that the edges will match.  You can see what the tab will look like when pinned into the bag in the background of the picture.


Take your bag and matching the top of the casing, fold the bag in half, wrong sides together.  As shown, add the tabs to the bottom of the bag, taking care to make sure that they are completely enclosed inside the bag.  Double check here, it is very easy to get one piece of the tab sandwiched in the bag and have one piece sticking out on the back of the bag.  Being careful now will save a lot of frustration and un-sewing later.  Trust me, I know!


Your bag should look like this now.

Making sure that the side edges are properly aligned, beginning at the bottom edge of the casing, sew the sides together close to the stitching that you originally did when you turned in the sides 1/2 inch.  Check often to make sure the edges remain properly aligned and that you are stitching through all layers.  Backstitch at the beginning of the seam and when you reach the tab, to strengthen these areas, as they will be under a lot of stress when the bag is used.


Do not start your stitching at the very top edge of the bag or you will sew the casing shut!

I add a second line of stitching about 1/4 inch in from the first line of stitching, again for reinforcement.


Make sure to add extra stitching at the bottom edge of the casing.


I just did some straight sewing, you could make a X or something more decorative if you wished.  Trim all of the threads.  Sew both sides of the bag in the same manner.  Your bag is now finished except for the strings.


You can see the casings of the bag and how the stitching does not go all the way to the very top of the bag.


I thought for a long time about a quick way to put the strings in the casings.  I wanted a way that was quick and easy.  Using a bodkin of some type to pull the string through the casing would have worked, but was too time consuming,  Here is my solution.  It is quick, easy and most of all cheap to make and use.


I cut a small dowel to a length that was slightly longer that the width of the bags that I needed to complete.  Then I used some painter's blue tape and wound a 12 inch piece around one end of the dowel.  I can tear off the tape as it loses it 'stick' and have new piece ready to go.

Cut your drawstring to 2 yards in length, you need 2 per bag. Seal the ends of the cording if using nylon or polyester cord.


Wrap the tape around the dowel and cording as shown in the following photo.  You will then push the dowel and the attached cording through one side of the casing and back through the other as shown in the following pictures.


Now, put one end of the cord through the tab on the same side as the cording and tie using an overhand knot, as shown above.

Your school bag should now look like this


Add the second drawstring in the same manner, starting on the side opposite of the one that already has a string.  This completes your drawstring school bag.


Finished!!

You can now fill with the supplies listed on the information from Lutheran World Relief!


In order to keep the supplies in the bag and make it easier to handle for shipping, I fold the drawstrings toward the center of the bag and then fold the top of the bag down and tie the resulting package with twine or string.  Nice, neat and nothing can spill out.


I hope that you have found the preceding information helpful.  I usually make 2 or 4 bags at a time using the chain piecing methods described.  If the fabric is precut, I can make 4 bags in about 45 minutes of steady sewing.  

Happy Sewing!!

Tuesday, June 12, 2012

Day 6 continues

I am very sorry about the lateness of these posts, but after doing two days of 10+ shops and the driving to get to the proper place to start the next day, I was too tired to blog. Actually had no time to do it. I am such a slow keyboarder that it is pathetic, so it takes me a long time just to do a little blogging. I will explain the driving comment with my Day 7 blog. Then on Saturday, I attended the graduation ceremony for my niece and then was back in Rochester for her graduation open house on Sunday. Monday was back to reality, back to the real job day and I had to stay late to try to get everything caught up. So now it is Tuesday and I can get back to telling you about some more of the shops that I visited!

The next shop on the trip is The Sewing House in Ottumwa.  A smaller shop with a nice selection of samples to enjoy.  They do long arm quilting at the shop and and have kits available.  I did purchase some minkee for a quilt back.

 Patchwork Peddlers was the following shop on the list.  This shop is in Kirkville and kind of hidden back off the main road.  Smaller shop but a nice selection of fabrics.  Another customer brought in sewing machine and I was able to answer some questions about walking feet and show here how to place the foot on the machine and warned her that it would be sort of noisy.  Very friendly and great service.

On to Tracy and B&B Creations.  I drove past the store once but caught it on the second pass.  My TomTom GPS unit is having an issue with the proper side of the street for it's locating!  This shop, as you can see in the picture, is in a house.  Nice selection of various fabric, although limited by size.  I had a very helpful little friend in this shop ; )

The next three shops are actually quite close together, given some of the driving that I have been doing.  Barefoot Quilting in Alba is a quiet, friendly store.  They also sell barn quilts and have a good selection of fabrics.

Just down the road, at Moravia, more exactly near Moravia is Shops at Granny's House.  Facebook link here:  http://www.facebook.com/pages/Shops-at-Grannys-House/72701418177.  This shop is again a small shop with a somewhat limited supply of fabrics.  They also sell beads and I did find some pearls for a project that I am planning.

Here is a close-up of the sign outside the shop.


Centerville was the next stop, at Ben Franklin.  This store is a part of a variety chain and has the usual fabrics, notions and threads as well as other items carried a this type of store.  I did not make it past the candy counter with buying some chocolate!

It was getting late and I needed to get to 3 more shops, so off I went!  The Sampler in Chariton was the first of the last 3 shops of the day.  That sounds kind of confusing, doesn't it.  Well, anyway this shop is just off the main square and although it is small, there is a lot of fabric.  You may have to do some digging to find the one that you want.  They give a discount to quilt guild members.

Just a few miles down US Highway 34 is Quilt with Us in Lucas.  This is a very small town with a large quilt shop.  It is nicely laid out with lots of fabric displayed in manner that makes it easy to see and select.  They are close to the railroad tracks and I didn't remember how loud those engine horns can be.  The shop has expanded since I was here many moons ago on another hop.  Here is the Facebook link:  http://www.facebook.com/pages/Quilt-With-Us/127769643922790

The last stop of the day is at the Robinson's True Value in Osceola.  This really is a one stop shop with fabric, notions, variety items and hardware!  I arrive at closing time (sorry) so did not have much time to wander around. Very friendly.  The store is on the east side of the square.

This is end of day 6 and I was able to make it to 12 shops today.  Now comes the planning for the last couple of days of the trip.  Thursday will be a long day, the shops are open from 9 AM to 8 PM and I will need every minute to get caught up, as I am behind on the number of shops that I will need to visit if I expect to be done by Friday.  I don't think that I will make it, but we will give it a good try.


Thursday, June 7, 2012

Day 6 - All Iowa Quilt Shop Hop

Quiet night in Keokuk, and now on to the job at hand, shop hopping.  The first shop for today is in Keokuk, Quilt 'N Etc.  A smallish shop in a downtown mall, this shop has a range of fabrics, not much of any type.  She does have a very nice selection of sale fabrics for 3 dollars a yard, so a great place to pick up some quilt backs.  The owner is changing her thread lines and has Guttermann threads on sale for $1 for the smaller spools.  I did get a few of the odd colors that I don't have, as I use this for applique.

The next stop is a few miles down the road at Sistercraft Quilting n' More of Salem.  The owner of the Keokuk shop had printed directions to the shop, which was helpful, as this is another 'out in the country' shops.  Plus, the GPS is working again.  It needed to download some new software which I completed last night so I'm back in business again!  It was a quiet, beautiful morning and the birds were singing, including a bobwhite with a 'stutter'.  He kept singing bob-bob-white.  Small crowded shop, but expanding into more space I was told.  A little bit of everything.

Quilter's Paradise in Mount Pleasant is the next shop today.  Here is the Facebook link:  http://www.facebook.com/pages/Quilters-Paradise/196922110329634.  I am making good time so far and should have 5 shops in by about noontime.  The shop is easy to find and I pick up some minkee for the back of a quilt.  Lots of nice samples displayed in the shop and there is a long-arm quilting service.  The shop is just off the main street, watch out for the construction!

Tuesday, June 5, 2012

All Iowa Quilt Shop Hop - Day 5

The morning got off to an early start today, as I left the apartment with DD2 and she needed to be to work at 8 AM.  I went to breakfast at the Blue Bird Cafe in North Liberty. The food was great and the service attentive.  On a weekday morning, I think I was the only customer for a while.  Here is a Facebook link:  http://www.facebook.com/BluebirdCafeNorthLiberty.

The first shop today is also in North Liberty and within sight of the Blue Bird, Common Threads Quilt Shoppe.  A smaller shop with a more limited selection of fabrics and very friendly service.  The shop also does long arm quilting.

The next chosen stop is Kalona and the Stitch and Sew Cottage.  I had a couple of different ways that I could go, but chose to to this one next.  The road took me very close to the ongoing fire at the landfill for Iowa City.  Lots of black smoke today.  This thing has been burning now for about 2 weeks.  Stitch and Sew has lots of panels displayed and kits made up with the Northcott Stonehenge line using their panels.

Driving through this area you see Mennonites out with their horse-drawn buggies.  Kalona has hitching rails for the people to tie up their horses while they shop.  On to the next stop which is Inspirations in Hills, Iowa. The shop has lots of reproductions, but does have some brights and juvenile fabrics in the back room.  The shop for you if you like the darker Civil War type fabrics.

I have a little bit of driving to get to the next shop, Heartland Cottons in DeWitt.  This is a very new store, open less than a year.  They have a line of small paper pieced patterns from a designer in Davenport.  I picked up a little pattern for a mortarboard, now I just need to get home in time to make it!
Not a great picture of the shop, sorry.

Expressions in Thread in Le Claire is the next stop after a bite for lunch.  Should have stopped somewhere else. (insert sad face)  The meat was not cooked properly, which was unusual.  Have eaten at this chain before without incident.  Expressions in Thread has a wide selection of fabrics and lots of fat quarters and kits.  Nice sized classroom and they sell machines as well.  This is the view out the front of the store:
Looking across the river!

This is the store -
Back on the road and on to Muscatine to The Little Red Hen.  I was tangled up on construction in Bettendorf and then got lost trying to find this store in Muscatine.  Wasted a lot of time, dang that GPS unit! This shop is in a residential area and easy to miss.  The shop sells fabric and patterns, has gifts and sells flowers and has a greenhouse.  They are giving away a free potted herb, but I left mine behind as I am sure that it would be dead by the time I arrived home and I don't want to be a plant murderer!
I only have time for one more shop today and that will be Ellen's Quilting Corner in West Burlington.  This shop has a range of fabrics, not many juvenile prints. Many nice kits for sale.  They also have a nice classroom.  I know I keep going on about the classrooms, but how are we going to learn new skills or get new people involved with quilting if we can' teach them?

I drove down to Keokuk to spend the night and get an early start tomorrow by visiting Quilt 'N Etc. I can't believe that I did all of my blogging the day that I did my hopping.  I do want to give a shout out to my DD 2 who has loaned me her camera for the duration of the trip.  Thank you so much!


Monday, June 4, 2012

Day 4 - All Iowa Quilt Shop Hop

Day four starts off bright and sunny, The breakfast this AM was divine.  I spent too much time blogging this AM and didn't get to hopping until about 10 am.  I did spend a little time doing some antiquing as well this morning.

The first shop today was The Back Stitch in Elkader.  This shop has quilt fabric and fabric and threads for cross-stitch and embroidery.  They have lots of beautiful threads and looking at all of the items really made me thinking about getting some counted cross-stitching done.  (Like I have the time to do anything like that.)  The shop had some nice fabrics on sale.

Just across the street, behind the buildings is the Turkey River.  This stone bridge connects the business district and the the courthouse and the rest of the town on the other. You can just see the tower of the courthouse above the trees in picture.


After looking carefully at the map, I thought that heading to Manchester and the The Quiltmaker's Shoppe.  This shop has a wide range of fabrics and lots of nice samples.  I did find a fabric that I need to complete a project.  This is the first shop in the entire hop where I have seen this fabric.  I had to order the fabric for the original project from Utah.

Sorry about the pictures again.  I don't really have much control over the distance other than standing in the street, so some of the pics will be more wide-screen than I would like. 

Vintage Threads in Dyersville is the third stop of the day.  This shop is smaller and has a eclectic mix of fabrics. They had a really cute quilted book made with a panel that I had purchased earlier in the hop.  
They had used a chalkboard fabric on the opposing page and had a zippered pouch on the front of the book to hold the eraser and the chalk!

On to Dubuque and the Cotton Cabin Quilt Shop in downtown.  I finally dug out the GPS rather than just wandering around and it turned out to be a lifesaver and got me to the shop with no trouble.  The shop is long and narrow, reminds me of my condo.  They have a nice selection of fabrics and I find a pattern for a diaper bag that converts from one with handles to straps for a backpack.  

The drive to Cascade is uneventful, with a minimum of road construction.  Spools 'N Jewels is a gift shop and quilt shop.  This seems to be a common combination.  Smaller shop but lots of fabric and of course the  jewels.. Here is link to Facebook http://www.facebook.com/SpoolsAndJewels.


The next two shops on the trip are in Marion.  The Rose Cottage is a main business district.  This shop has mostly reproduction fabrics as well as wools.  They also have a line of patterns designed in the shop.  There is also a retreat center associated with the shop.

Connie's Quilt Shop is just down the street and in a older home.  There is a wide selection of fabrics, but there is not much room, so everything is really cramped.  I was able to find some cute border fabric (50's theme) to make some towels for DD1.


Cedar Rapids is the next stop, at the Pine Needles Sewing Center.  I have not been to this shop before, although they have been here fo some time.  This is a large shop, lists of fabrics of all styles and varieties. They also sell sewing machines.  Lots of the shop seem to be selling sewing machines, buy the fabric and the machine to sew and quilt the top all in one place!


Heritage Designs is a shop in Amanda, part of the Amanda colonies.  This shop has lots of very nice batiks.  The shop is open and airy and has lots of samples for inspiration.  


Fern Hill in South Amana is a gift and quilt shop.  The lower level of the building has gifts and antiques and finished quilts for sale.  The upper level has fabrics and quilting supplies.  They feature the Fern Hill fabrics by Camelot Cottons in one of the rooms.  And now the GPS unit stops working!  Back to the phone for directions as well.  My data minutes are going to over the moon this month!


Off to Williamsburg, to get to two more shops before the day ends.  The first stop is at Rainbows and Calico Things.  This shop is in the country, but very easy to find.  They have a wide selection of fabrics.  The building also has a very nice classroom.  There are some very nice fabrics for sale, on a rack by the front door, so be sure to check it out.


The Woolen Needle is in Williamsburg and sells woolen fabric, lots of threads for embroidery as well as quilting fabric.  The fabric selection is mostly reproductions.  I find a useful magnetic case for holding needles and a small pair of scissors for hand sewing then traveling!  As much time I spend on the road, this should be a great purchase.  I get to the shop just before 6 PM, so that is the end of the day.


But wait, the Ben Franklin in Iowa City is in a mall, and is open until 8 PM!  This is a typical variety store that sells fabric and patterns.  They also have an awesome selection of beads and jewelry making supplies.


Dear Daughter 2 lives in North Liberty and is willing to put up with me for the night.  Will start the day tomorrow there at the Common Threads Quilt Shop.  All in all, a very productive day!